Hershey fudge recipe delivers rich, creamy chocolate perfection in just minutes, and you probably already have the ingredients in your kitchen right now. This no-fail candy requires only a handful of staples: butter, cocoa powder, and sweetened condensed milk. Whether you’re making it for holiday gifts or a quick dessert craving, this fudge sets up beautifully every single time.
The beauty of this recipe lies in its simplicity and reliability. You don’t need a candy thermometer, special equipment, or culinary experience to nail smooth, melt-in-your-mouth fudge.
Why You’ll Love This Recipe
This fudge hits all the marks for a crowd-pleasing homemade candy. It tastes like you spent hours in the kitchen when you really spent about ten minutes.
- Ready in under 15 minutes from start to finish
- Foolproof formula that works every single time
- Rich chocolate flavor with creamy, melt-in-your-mouth texture
- Perfect for gift-giving or satisfying sudden chocolate cravings
- Requires only five basic pantry ingredients
My Experience Making This Recipe
I first made this fudge during a rainy Sunday afternoon when I wanted something sweet but didn’t feel like baking. The moment I tasted it, I understood why people request it year after year.
What surprised me most was how forgiving the recipe is. I’ve made it at least twenty times now, and it’s never turned grainy or separated on me like some fancy fudge recipes do.
My family devours it within days, and friends always ask if I’ll make it again. The compliments have convinced me this deserves a permanent spot in my holiday rotation.
Recipe Overview
- Recipe Name: Hershey Fudge
- Servings: 24 pieces
- Prep Time: 10 minutes
- Cook Time: 5 minutes
- Total Time: 15 minutes, plus 2 hours setting time
- Course: Dessert
- Cuisine: American
- Calories per Serving: 95
Equipment You Will Need
- 8×8 inch baking pan
- Parchment paper
- Medium saucepan
- Wooden spoon or silicone spatula
- Measuring cups and spoons
- Knife for cutting fudge into pieces
Ingredients for Hershey Fudge Recipe
- 1/2 cup unsalted butter
- 2/3 cup Hershey’s cocoa powder
- 3 cups powdered sugar
- 1 can (14 ounces) sweetened condensed milk
- 1 teaspoon vanilla extract
- 1/4 teaspoon salt
Ingredient Notes and Substitutions
- Sweetened condensed milk is the secret binder that creates creamy fudge without a candy thermometer. You can use regular evaporated milk in a pinch, but expect a slightly less creamy texture and you may need to add an extra tablespoon of butter.
- Hershey’s cocoa powder gives this fudge its signature mild chocolate flavor and smooth finish. Dutch-processed cocoa will produce darker, more intense chocolate taste, which works beautifully if you prefer less sweet candy.
- Powdered sugar dissolves completely into the mixture and prevents graininess. Granulated sugar will not work here because it won’t blend smoothly and will create a sandy texture.
- Butter adds richness and helps set the fudge properly. Coconut oil creates a slightly softer fudge with less stable shelf life, so stick with butter for best results.
- Vanilla extract brightens the chocolate flavor and rounds out the taste. Almond extract creates an interesting variation if you want to experiment.
How to Make Hershey Fudge Recipe
Step 1: Prepare Your Pan
Line your 8×8 inch baking pan with parchment paper, leaving a slight overhang on two sides so you can easily lift the finished fudge out. This prevents sticking and makes cutting into neat pieces much easier.
Step 2: Combine Cocoa and Powdered Sugar
Whisk together the cocoa powder and powdered sugar in a medium saucepan using a wooden spoon or whisk. Mixing these dry ingredients first prevents lumps and ensures even chocolate flavor throughout.
Step 3: Add Butter and Condensed Milk
Add the butter and sweetened condensed milk to the saucepan with your cocoa mixture. The butter will start melting immediately, especially if your pan still holds residual heat.
Step 4: Heat the Mixture
Place the saucepan over medium heat and stir constantly for about 3 to 5 minutes until the mixture is smooth and hot throughout. You want it steaming but not boiling; excessive heat can make the fudge grainy or cause separation.
Step 5: Remove From Heat and Add Vanilla
Take the pan off the heat and stir in the vanilla extract and salt. The slight cooling that happens during removal from heat helps prevent the vanilla from cooking off.
Step 6: Pour Into Pan
Pour the fudge mixture into your prepared pan and smooth the top with your spatula. Work quickly but gently; the mixture sets fast and you want an even surface.
Step 7: Cool at Room Temperature
Let the fudge sit undisturbed at room temperature for at least 2 hours, though 3 hours is better for fully firm fudge. Placing it on a cool counter speeds setting compared to a warm kitchen.
Step 8: Cut and Store
Lift the fudge out of the pan using the parchment overhang and transfer to a cutting board. Cut into 24 pieces using a sharp knife, wiping the blade between cuts for clean edges.
Pro Tip: If your fudge feels too soft after 2 hours, refrigerate it for 30 minutes to firm up, then cut.
Tips for the Best Hershey Fudge Recipe
- Use room temperature ingredients when possible; cold butter takes longer to melt and can create lumps in the mixture.
- Stir constantly during heating to prevent hot spots and ensure even cooking of all ingredients.
- Don’t skip the salt; it enhances chocolate flavor and balances sweetness without making the fudge taste salty.
- Humidity affects fudge texture, so make this recipe on dry days rather than humid afternoons or rainy days.
- Cool the fudge on a level surface away from direct sunlight or heat sources.
- Cut fudge with a hot, wet knife for the cleanest edges and most uniform pieces.
Common Mistakes to Avoid
- Overcooking the mixture turns fudge grainy and dry because excess heat causes sugar crystallization and moisture loss.
- Using hot fudge straight from the stove results in spreading and uneven setting as it cools unpredictably.
- Substituting ingredients without testing creates inconsistent texture and flavor; this recipe is carefully balanced.
- Cutting fudge before it fully sets causes pieces to crumble and stick together messily.
- Storing fudge in humid conditions makes it sticky and prone to melting.
Serving Suggestions
Serve this fudge on its own as a simple dessert, or pair it with other treats for a chocolate lover’s spread. It works beautifully at holiday gatherings, gift exchanges, or tucked into care packages.
- Alongside vanilla ice cream for an elegant dessert
- With strong black coffee for afternoon treats
- In gift boxes tied with ribbon for thoughtful presents
- At dessert tables next to nuts, caramels, or candies
- With fresh berries for contrast to rich chocolate
Variations to Try
- Peanut butter swirl fudge: Dollop spoonfuls of peanut butter over the mixture before pouring into the pan, then swirl with a knife for ribbons of peanut butter throughout.
- Mint chocolate fudge: Add 1/4 teaspoon peppermint extract and a pinch of green food coloring for a cool, refreshing twist on the classic.
- Espresso fudge: Stir in 1 tablespoon of instant espresso powder dissolved in the vanilla for deep, complex chocolate flavor.
- Salted fudge: Sprinkle fleur de sel or sea salt crystals on top before the fudge fully sets for a sweet and salty balance.
- Walnut or pecan fudge: Fold in 1/2 cup chopped nuts after removing from heat for added crunch and richness.
Dietary Adaptations
- Gluten-free: This recipe is naturally gluten-free; just verify your cocoa powder and condensed milk labels for any cross-contamination warnings.
- Dairy-free: Substitute coconut oil for butter and use coconut cream instead of sweetened condensed milk; expect slightly different texture and set time.
- Vegan: Use vegan butter and full-fat coconut milk combined with maple syrup instead of condensed milk, though results will be less creamy.
- Low-carb or keto: Replace powdered sugar with monk fruit sweetener or erythritol blend; you may need to adjust the amount slightly for proper consistency.
Storage and Reheating
Refrigerator
Store fudge in an airtight container with parchment between layers to prevent sticking. Properly stored fudge keeps for up to two weeks in the refrigerator.
- Place in single layer on parchment paper
- Cover tightly with plastic wrap or an airtight lid
- Keep away from strong-smelling foods
Freezer
Fudge freezes beautifully for up to three months when wrapped properly. This makes it perfect for making ahead for holidays.
- Wrap individual pieces in parchment paper
- Place wrapped pieces in a freezer bag
- Label with the date for easy tracking
Reheating
Fudge doesn’t require reheating; simply remove from storage and let it reach room temperature for 15 minutes before serving. Cold fudge straight from the freezer can be quite hard, so allowing a few minutes helps develop the ideal creamy texture.
- Remove from freezer and let sit 15 to 20 minutes before eating
- Do not microwave or heat fudge
- Serve at room temperature for best flavor
Nutrition Information
| Nutrient | Amount |
|---|---|
| Calories | 95 |
| Total Fat | 4g |
| Saturated Fat | 2.5g |
| Carbohydrates | 15g |
| Fiber | 0.5g |
| Sugar | 14g |
| Protein | 1g |
| Sodium | 25mg |
| Cholesterol | 8mg |
These values are approximations based on standard ingredient measurements and may vary depending on specific brands and portion sizes used.
Frequently Asked Questions
Can I use regular cocoa powder instead of Hershey’s brand?
Yes, any unsweetened cocoa powder works, but the flavor profile changes slightly. Hershey’s produces mild chocolate taste, while other brands like Dutch-process create deeper, more intense chocolate notes.
What if my fudge is too soft after two hours?
Pop it in the refrigerator for 30 minutes to an hour until it firms up. This usually happens in humid environments or when ingredients were warmer than ideal.
How long does homemade fudge last?
Stored properly in an airtight container at room temperature, it lasts about one week. Refrigerated fudge keeps for two weeks, and frozen fudge stays fresh for three months.
Why is my fudge grainy instead of smooth?
Graininess typically results from overcooking, cooking too fast, or using granulated sugar instead of powdered sugar. Stick to medium heat and whisk powdered sugar with cocoa before adding liquids.
Can I add mix-ins like nuts or sprinkles?
Absolutely. Fold in up to 1/2 cup of chopped nuts, chocolate chips, or candies right after removing from heat, then proceed with pouring into the pan.
Is this fudge recipe safe to make with kids?
Yes, this recipe is very kid-friendly since it doesn’t require a candy thermometer or complex techniques. Older children can handle stirring and pouring with adult supervision, while younger kids can help measure and mix dry ingredients.
Final Thoughts
This Hershey fudge recipe proves that simple, quality ingredients create unforgettable treats. You’ll make it again and again because it works, it tastes incredible, and people actually request it.
Stop waiting for a special occasion and make fudge this week. Your kitchen will smell amazing, your family will be thrilled, and you’ll wonder why you didn’t make this sooner.
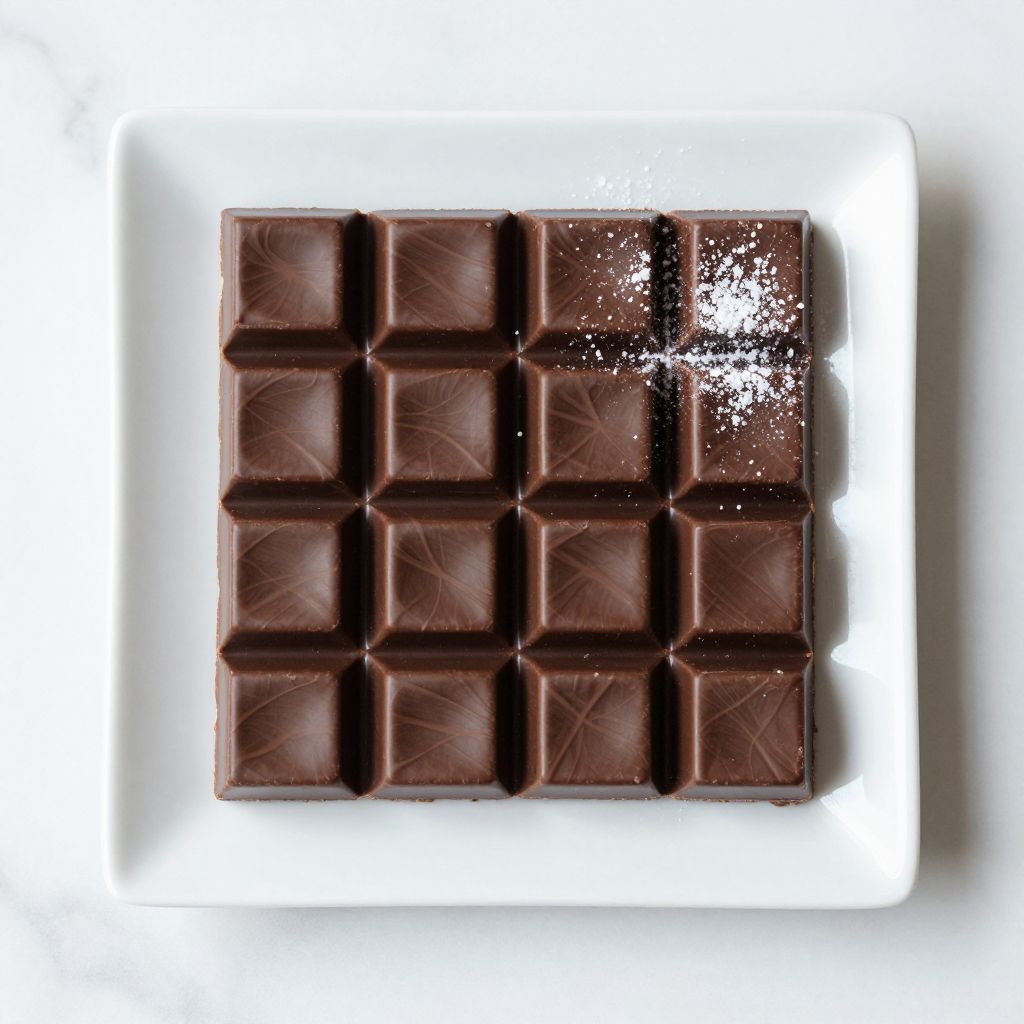
Hershey Fudge
Ingredients
Equipment
Method
- Line your 8x8 inch baking pan with parchment paper, leaving a slight overhang on two sides to easily lift the fudge out later.
- Whisk together the cocoa powder and powdered sugar in a medium saucepan using a wooden spoon or whisk to prevent lumps.
- Add the butter and sweetened condensed milk to the saucepan with the cocoa mixture; the butter will begin melting immediately.
- Place the saucepan over medium heat and stir constantly for about 3 to 5 minutes until the mixture is smooth and steaming but not boiling.
- Remove the pan from heat and stir in the vanilla extract and salt to enhance flavor.
- Pour the fudge mixture into the prepared pan and smooth the top with your spatula quickly but gently to ensure an even surface.
- Let the fudge sit undisturbed at room temperature for at least 2 hours, preferably 3 hours, to fully set and firm up.
- Lift the fudge out of the pan using the parchment overhang and cut into 24 pieces with a sharp knife, wiping the blade between cuts for clean edges.