Ingredients
Equipment
Method
- Cut the pineapple in half lengthwise and remove the tough core using a sharp knife or corer. Slice away the rough outer skin and cut the yellow flesh into chunks roughly the size of dice, aiming for consistent pieces.
- Add the pineapple chunks, granulated sugar, fresh lemon juice, and salt to a large heavy-bottomed pot and stir gently to combine.
- Bring the mixture to a rolling boil over medium-high heat, stirring occasionally to prevent sticking, until thick bubbles break the surface, about 5 to 8 minutes.
- Reduce heat to medium and maintain a steady, vigorous simmer. Cook for 25 to 30 minutes, stirring frequently every 2 to 3 minutes to prevent scorching. Skim off any foam if desired.
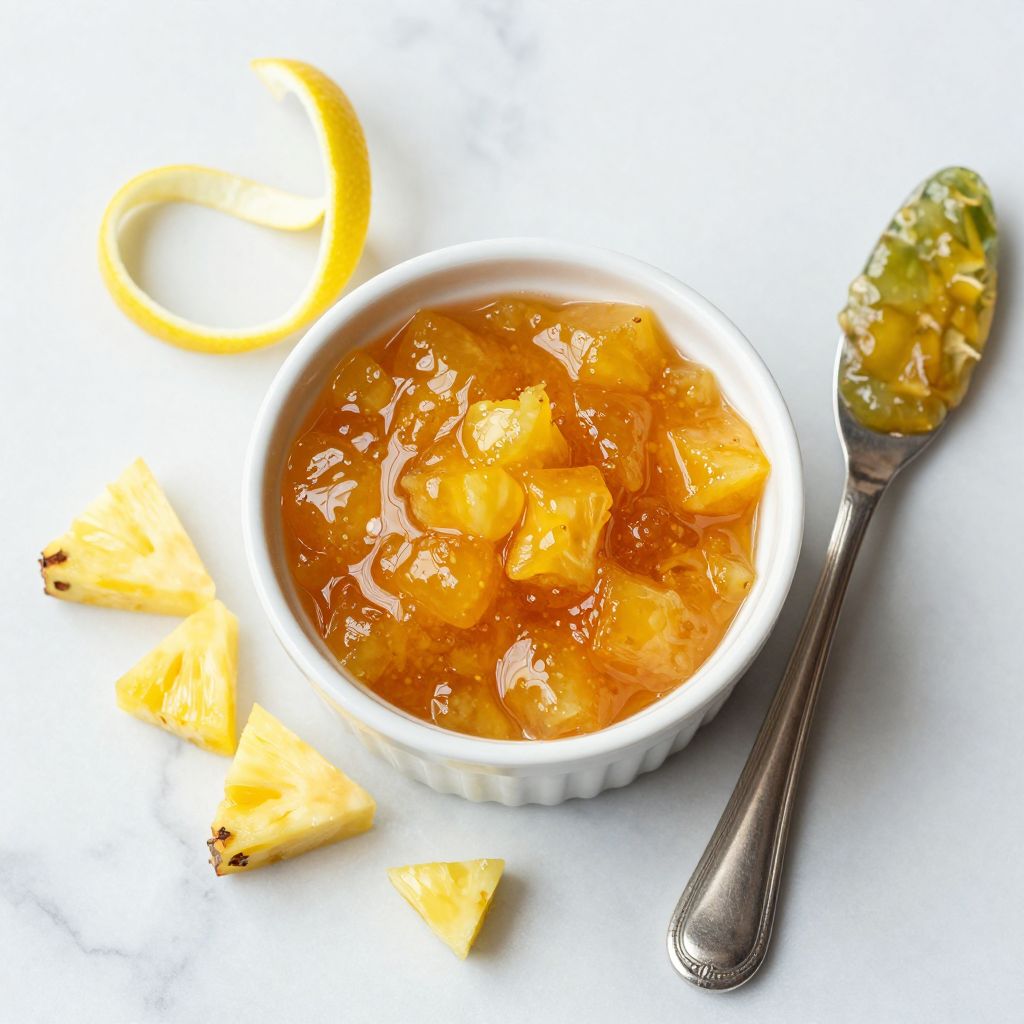
- At around 30 minutes, test for gel stage by placing a small spoonful of jam on a chilled plate. Let cool 30 seconds, then push with your finger. If it wrinkles and holds shape, jam is ready. Otherwise continue cooking 2 to 3 more minutes and test again.
- Alternatively, use a candy thermometer to check that jam has reached 220 degrees Fahrenheit (104 Celsius), typical setting point for jam.
- While cooking finishes, sterilize jars by running through a hot dishwasher or boiling in water for 10 minutes. Soften rubber seals by placing lids in hot (not boiling) water.
- Using a ladle and optional funnel, carefully fill hot sterilized jars with hot jam, leaving 1/4 inch headspace at the top. Wipe rims clean to prevent sealing issues.
- Place hot lids on jars and screw bands down snugly without over-tightening. Allow jars to cool undisturbed to hear sealing pop.
Notes
Don't skip the gel stage test as it ensures the jam sets properly and prevents ending with syrup. Store sealed jars in a cool, dark place for up to one year. Once opened, refrigerate and consume within three weeks. Enjoy on toast, yogurt, pastries, or in cocktails.