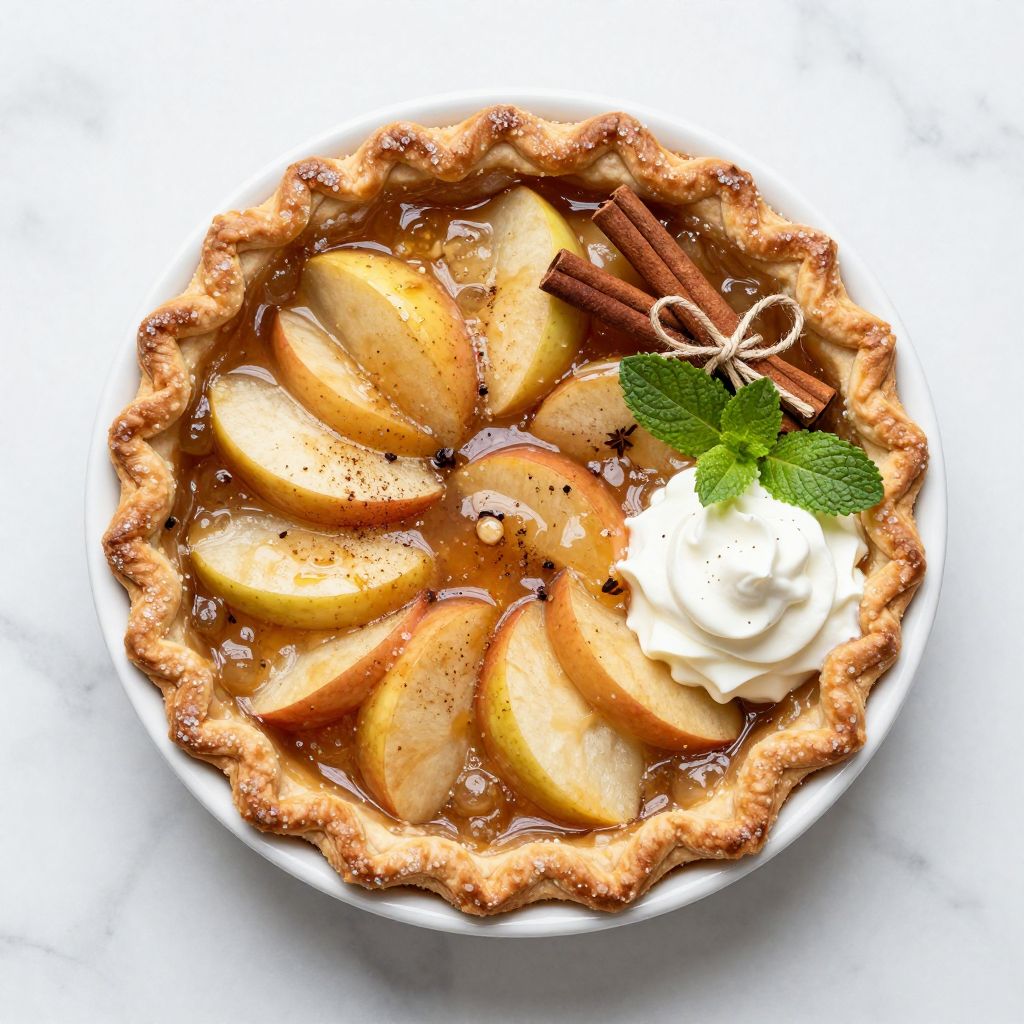
Ingredients
Equipment
Method
- Wash jars, lids, and bands in hot soapy water, rinse well, and place jars upright in water bath canner filled with enough water to cover jars by about an inch. Bring water to a simmer to keep jars hot and sterilized while you work.
- Peel, core, and slice apples into quarter-inch thick pieces, placing them directly into a large bowl of cool water with a squeeze of lemon juice to prevent browning.
- In a separate bowl, whisk together sugar, cornstarch, flour, cinnamon, nutmeg, allspice, cloves, and salt until no lumps remain.
- Drain the sliced apples and transfer them to a large stainless steel pot. Sprinkle the dry ingredient mixture over apples and toss gently until coated, allowing sugar to draw juice out.
- Pour in fresh lemon juice and apple juice (or water). Add vanilla extract if using, and stir gently to combine.
- Bring mixture to a boil over medium-high heat, then reduce to medium and simmer for 15-20 minutes, stirring occasionally, until apples soften slightly and mixture thickens. Apples should hold their shape with a little bite.
- Working quickly, fill hot sterilized jars with hot filling using a canning funnel, leaving 1/2 inch headspace.
- Use a bubble remover tool to release trapped air bubbles by sliding it along jar edges.
- Wipe jar rims thoroughly with a clean damp kitchen towel to remove residue for proper sealing.
- Place hot two-piece lids on jars and screw bands on until fingertip tight—snug but not tight.
- Lower jars into simmering water bath using jar lifter, ensuring water covers jars by about one inch. Bring water to a rolling boil and process jars for 25 minutes (add 5 minutes if above 1,000 feet elevation).
- Turn off heat and let jars sit in hot water for 5 minutes. Remove jars carefully and place on clean kitchen towels to cool completely.
- Listen for popping sounds as lids seal during cooling. After 24 hours, press center of lids to test seal; lid should not flex up and down.
Notes
Make sure to use a mix of tart and sweet apples for best flavor and texture. Do not overcook apples to preserve shape. Proper headspace and rim wiping are critical for safe sealing. Store sealed jars in a cool, dark place for up to one year. Opened jars should be refrigerated and used within two weeks.