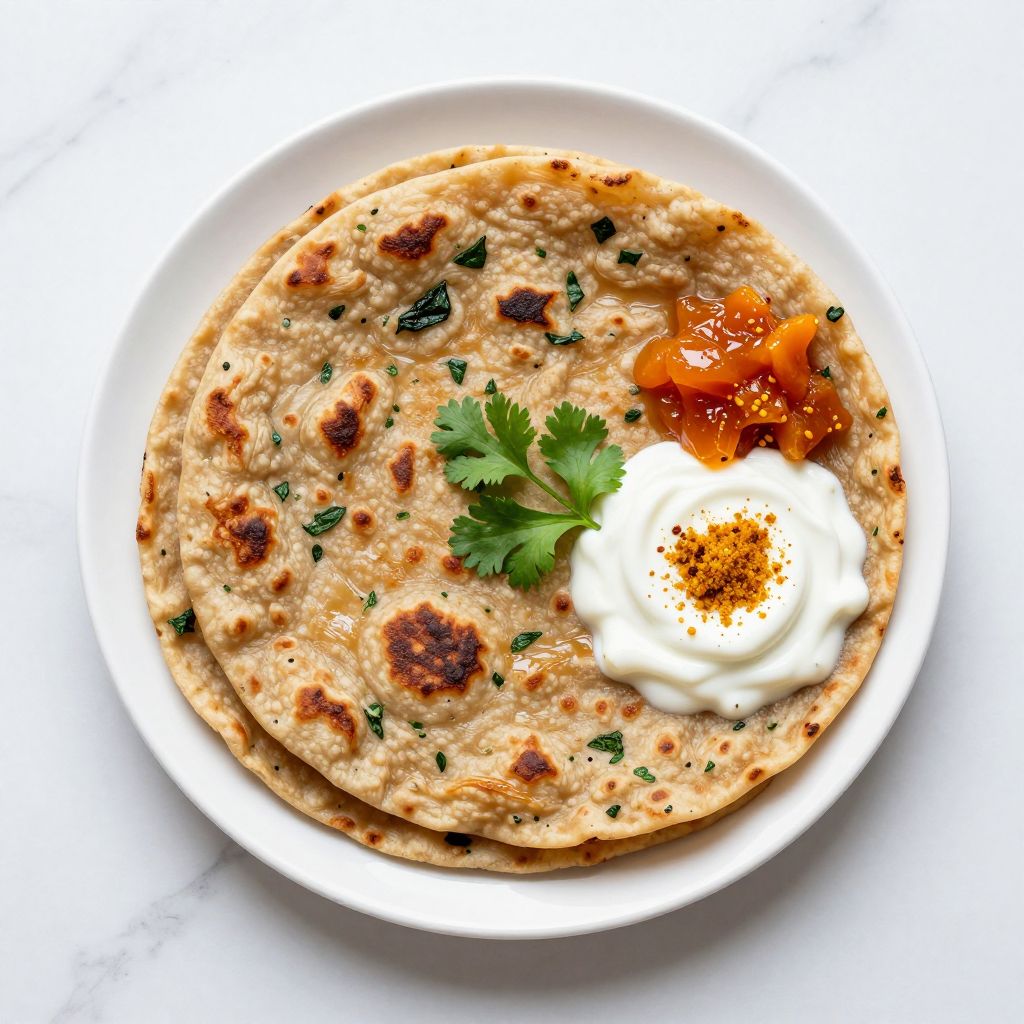
Methi paratha brings the earthy, slightly bitter punch of fresh fenugreek leaves to your breakfast table. This classic Indian flatbread pairs beautifully with yogurt, pickle, or a hot cup of chai.
The aroma alone will pull everyone into the kitchen. Once you master this recipe, weekday mornings become something to look forward to.
Why You’ll Love This Recipe
Methi paratha strikes the perfect balance between nutritious and delicious. Here’s why this recipe deserves a permanent spot in your rotation.
- Fresh methi leaves pack iron, fiber, and vitamins into every bite
- Ready in under 30 minutes from start to finish
- Freezer friendly for meal prep convenience
- Customizable spice levels for the whole family
- No fancy equipment required
My Experience Making This Recipe
I grew up watching my grandmother knead methi into soft dough every winter morning. The kitchen would fill with that unmistakable green, grassy scent that still feels like home.
My first solo attempt resulted in tough, chewy discs that could double as frisbees. Turns out, I was kneading the dough way too aggressively and skipping the resting time.
After dozens of batches, I finally cracked the code to soft, flaky parathas. My kids now request these over store bought bread, which feels like a parenting win.
Recipe Overview
- Recipe Name: Methi Paratha
- Servings: 8 parathas
- Prep Time: 15 minutes
- Cook Time: 20 minutes
- Total Time: 35 minutes
- Course: Breakfast, Main Course
- Cuisine: Indian, North Indian
- Calories per Serving: 180 kcal
Equipment You Will Need
- Large mixing bowl for kneading dough
- Rolling pin (belan)
- Flat griddle or tawa
- Rolling board or clean countertop
- Spatula or flat spoon
- Kitchen towel for covering dough
- Measuring cups and spoons
Ingredients for Methi Paratha
For the Dough
- Whole wheat flour (atta) : 2 cups
- Fresh fenugreek leaves (methi) : 1 cup, finely chopped
- Salt : 1 teaspoon
- Carom seeds (ajwain) : 1/2 teaspoon
- Red chili powder : 1/2 teaspoon
- Turmeric powder : 1/4 teaspoon
- Oil or ghee : 2 tablespoons
- Water : 3/4 cup, or as needed
For Cooking
- Ghee or oil : 3 to 4 tablespoons for shallow frying
- Dry flour : for dusting while rolling
Ingredient Notes and Substitutions
- Fresh methi leaves: These provide the signature bitter, earthy flavor. Substitute with 2 tablespoons dried kasuri methi if fresh is unavailable, though fresh tastes superior.
- Whole wheat flour: Creates the traditional chewy texture and nutty taste. You can use multigrain flour for extra nutrition, but the texture will differ slightly.
- Ajwain (carom seeds): Aids digestion and adds a thyme like aroma. Skip it if you dislike the flavor, but it complements methi beautifully.
- Ghee: Adds richness and helps achieve golden, crispy edges. Use neutral oil for a vegan version with minimal flavor change.
- Red chili powder: Controls the heat level. Use Kashmiri chili powder for color without intense spice.
How to Make Methi Paratha
Step 1: Prepare the Fenugreek Leaves
Wash the fresh methi leaves thoroughly under running water to remove dirt and grit. Pat them completely dry with a kitchen towel because excess moisture makes the dough sticky and difficult to roll.
Step 2: Chop the Methi Finely
Remove the leaves from the thick stems and chop them finely. Smaller pieces distribute evenly throughout the dough and prevent tearing during rolling.
Step 3: Combine Dry Ingredients
Add whole wheat flour, salt, ajwain, red chili powder, and turmeric to a large mixing bowl. Whisk everything together so the spices spread evenly through the flour.
Step 4: Add Methi and Oil
Toss the chopped methi leaves into the flour mixture. Add 2 tablespoons of oil and rub it into the flour with your fingertips until the mixture resembles coarse breadcrumbs.
Step 5: Knead the Dough
Gradually add water while mixing until a soft, pliable dough forms. Knead gently for 3 to 4 minutes until smooth because overworking develops too much gluten and creates tough parathas.
Step 6: Rest the Dough
Cover the dough with a damp kitchen towel and let it rest for 15 to 20 minutes. Resting relaxes the gluten strands, making the dough easier to roll and the final parathas softer.
Step 7: Divide and Shape
Divide the rested dough into 8 equal portions and roll each into a smooth ball. Dust a ball lightly with flour and roll it into a circle about 6 to 7 inches in diameter.
Step 8: Cook the Parathas
Heat a tawa or flat griddle over medium high heat until very hot. Place the rolled paratha on the hot surface and cook until small bubbles appear on top, then flip.
Step 9: Apply Ghee and Finish
Brush ghee or oil on the cooked side while the second side cooks. Flip again, apply ghee to the other side, and press gently with a spatula until golden brown spots appear on both sides.
Step 10: Keep Warm and Serve
Transfer the cooked paratha to a plate lined with a kitchen towel or place in a casserole to keep warm. Repeat with the remaining dough balls, stacking as you go.
Pro Tip: Squeeze the washed methi leaves in a kitchen towel to remove every drop of water before chopping, this single step prevents sticky dough and ensures perfectly textured parathas.
Tips for the Best Methi Paratha
- Use young, tender methi leaves because mature ones taste more bitter and have tough stems.
- Add a pinch of sugar to the dough to balance the natural bitterness of fenugreek.
- Roll with light, even pressure from the center outward for uniform thickness.
- Keep the tawa properly hot before placing each paratha to prevent sticking.
- Press the edges gently with a spatula while cooking to ensure even browning.
- Cook on medium high heat rather than high heat to avoid burning the outside while the inside stays raw.
Common Mistakes to Avoid
- Using wet methi leaves: Excess moisture creates sticky, unworkable dough that tears during rolling.
- Skipping the resting time: Unrelaxed gluten fights back against rolling and produces tough parathas.
- Rolling too thick: Thick parathas stay doughy in the center and never achieve proper flakiness.
- Overcrowding the tawa: Cook one paratha at a time for even heat distribution and proper browning.
- Adding too much flour while rolling: Excessive dusting dries out the paratha and makes it hard.
Serving Suggestions
Methi parathas shine brightest when served hot off the tawa with generous accompaniments. Here are my favorite ways to enjoy them.
- Plain yogurt or raita with a sprinkle of chaat masala
- Spicy mango or lime pickle for a tangy kick
- Butter and a drizzle of honey for a sweeter option
- Aloo sabzi or mixed vegetable curry for a complete meal
- Fresh green chutney made with mint and coriander
Variations to Try
- Stuffed methi paratha: Fill with spiced mashed potatoes for a heartier version that works as a complete meal.
- Methi paneer paratha: Add crumbled paneer to the dough for extra protein and a richer taste.
- Multigrain methi paratha: Replace half the wheat flour with millet or oat flour for added nutrition.
- Garlic methi paratha: Mix in minced garlic for an aromatic twist that pairs wonderfully with dal.
- Cheese methi paratha: Stuff with grated cheese for a kid friendly version that melts beautifully inside.
Dietary Adaptations
- Gluten free: Use a blend of rice flour and chickpea flour, though the texture will be slightly crumbly.
- Dairy free: Replace ghee with vegetable oil or vegan butter for identical cooking results.
- Vegan: This recipe is naturally vegan when made with oil instead of ghee.
- Low carb: Substitute almond flour and add psyllium husk for binding, expect a different but satisfying texture.
Storage and Reheating
Refrigerator
Store cooked parathas in an airtight container for up to 3 days. Layer parchment paper between them to prevent sticking.
- Cool completely before storing to avoid condensation
- Refrigerate uncooked dough balls for up to 2 days
Freezer
Freeze cooked or uncooked parathas for up to 1 month. Flash freeze on a baking sheet before transferring to freezer bags.
- Separate each paratha with parchment paper
- Remove as much air as possible from the bag
Reheating
Reheat directly on a hot tawa for the best texture. No thawing required for frozen parathas.
- Apply a thin layer of ghee while reheating for freshness
- Avoid microwaving as it makes parathas rubbery
Nutrition Information
| Nutrient | Amount |
|---|---|
| Calories | 180 kcal |
| Total Fat | 7g |
| Saturated Fat | 2g |
| Carbohydrates | 25g |
| Fiber | 4g |
| Sugar | 1g |
| Protein | 5g |
| Sodium | 290mg |
| Cholesterol | 8mg |
Nutritional values are estimates based on standard ingredients and may vary based on specific products used and portion sizes.
Frequently Asked Questions
Can I use dried kasuri methi instead of fresh methi leaves?
Yes, use 2 tablespoons of kasuri methi soaked in warm water for 5 minutes. Fresh methi delivers a brighter flavor, but dried works in a pinch.
How do I reduce the bitterness of methi leaves?
Soak chopped leaves in salted water for 10 minutes, then drain and squeeze dry. Adding a pinch of sugar to the dough helps balance any remaining bitterness.
Can I make the dough ahead of time?
Absolutely, refrigerate the dough for up to 24 hours in a covered bowl. Bring it to room temperature for 15 minutes before rolling.
Why do my parathas turn hard after cooling?
Hard parathas usually result from too little fat in the dough or overcooking. Keep them covered in a casserole or wrapped in a cloth to retain moisture.
What is the best flour for soft methi parathas?
Fresh, finely ground whole wheat atta produces the softest results. Avoid all purpose flour as it lacks the fiber and creates a different texture.
Final Thoughts
Methi paratha is one of those recipes that looks intimidating but becomes second nature after a few tries. The combination of earthy fenugreek, warm spices, and crispy golden edges makes every bite worth the effort.
Give this recipe a shot this weekend and watch it become a household favorite. Your breakfast game is about to level up significantly.
Methi Paratha
Ingredients
Equipment
Method
- Wash the fresh methi leaves thoroughly under running water to remove dirt and grit. Pat them completely dry with a kitchen towel because excess moisture makes the dough sticky and difficult to roll.
- Remove the leaves from the thick stems and chop them finely. Smaller pieces distribute evenly throughout the dough and prevent tearing during rolling.
- Add whole wheat flour, salt, ajwain, red chili powder, and turmeric to a large mixing bowl. Whisk everything together so the spices spread evenly through the flour.
- Toss the chopped methi leaves into the flour mixture. Add 2 tablespoons of oil and rub it into the flour with your fingertips until the mixture resembles coarse breadcrumbs.
- Gradually add water while mixing until a soft, pliable dough forms. Knead gently for 3 to 4 minutes until smooth because overworking develops too much gluten and creates tough parathas.
- Cover the dough with a damp kitchen towel and let it rest for 15 to 20 minutes. Resting relaxes the gluten strands, making the dough easier to roll and the final parathas softer.
- Divide the rested dough into 8 equal portions and roll each into a smooth ball. Dust a ball lightly with flour and roll it into a circle about 6 to 7 inches in diameter.
- Heat a tawa or flat griddle over medium high heat until very hot. Place the rolled paratha on the hot surface and cook until small bubbles appear on top, then flip.
- Brush ghee or oil on the cooked side while the second side cooks. Flip again, apply ghee to the other side, and press gently with a spatula until golden brown spots appear on both sides.
- Transfer the cooked paratha to a plate lined with a kitchen towel or place in a casserole to keep warm. Repeat with the remaining dough balls, stacking as you go.