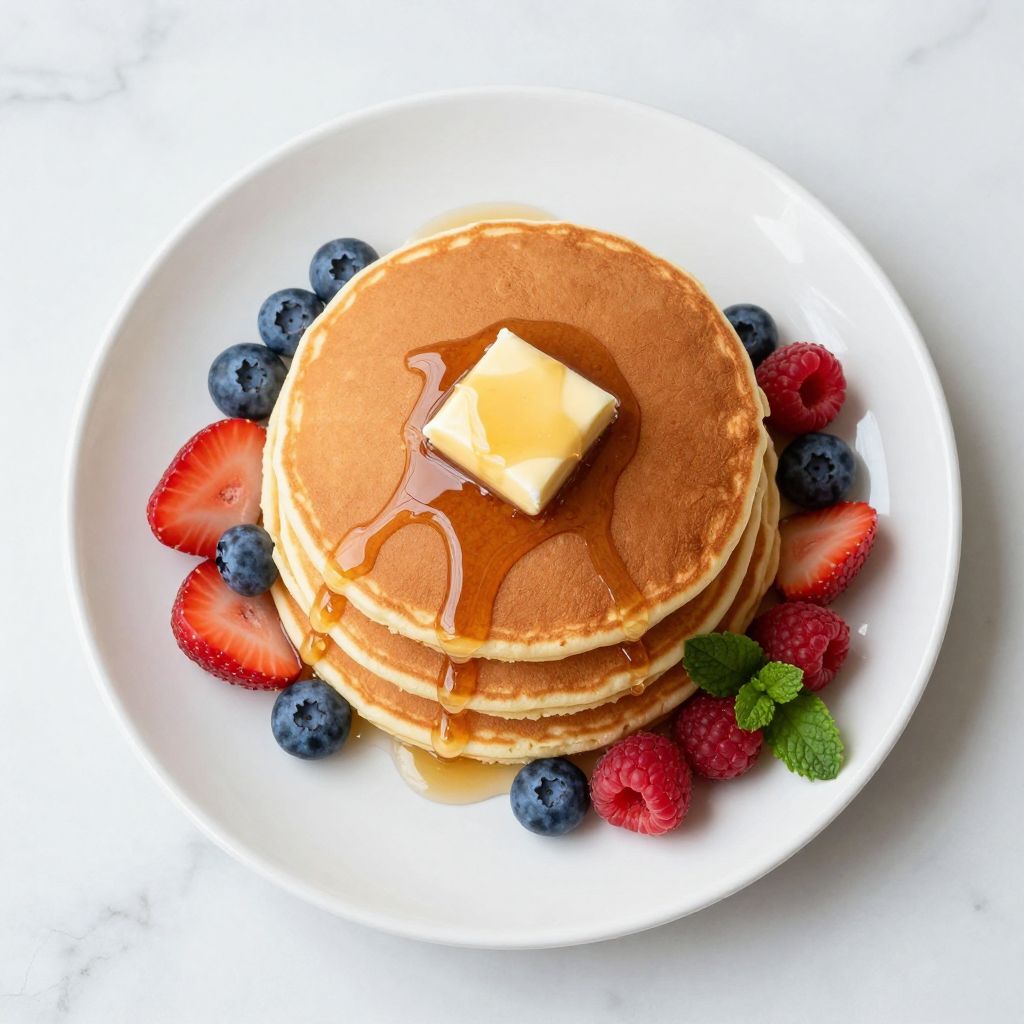
Martha Stewart pancake recipe delivers fluffy, golden breakfast perfection that will make you forget boxed mixes exist. These classic buttermilk pancakes feature crispy edges, tender centers, and that signature homemade taste your family will request every weekend.
With simple pantry staples and a few clever techniques, you can recreate this iconic recipe in under 30 minutes. Let me walk you through everything you need to know to nail these pancakes on your first try.
Why You’ll Love This Recipe
This recipe has earned its legendary status for good reason. Here’s what makes it stand out from the countless pancake recipes floating around the internet.
- Perfectly balanced texture with crispy exteriors and impossibly fluffy interiors
- Uses basic ingredients you probably already have in your kitchen
- Forgiving technique that works even for beginner cooks
- Easily doubled or tripled for feeding a hungry crowd
- Ready from bowl to plate in about 25 minutes
My Experience Making This Recipe
I first made these pancakes on a lazy Sunday morning when my usual recipe felt uninspired. The batter came together so quickly that I barely had time to heat my griddle before it was ready to pour.
That first bite stopped me mid conversation. The exterior had this delicate crispness while the inside stayed pillowy soft, almost like biting into a sweet cloud.
My kids now refuse any other pancake recipe, which honestly makes my life easier. These have become our official birthday breakfast and snow day tradition.
Recipe Overview
- Recipe Name: Martha Stewart Buttermilk Pancakes
- Servings: 4 servings (about 12 pancakes)
- Prep Time: 10 minutes
- Cook Time: 15 minutes
- Total Time: 25 minutes
- Course: Breakfast
- Cuisine: American
- Calories per Serving: 320 calories
Equipment You Will Need
- Large mixing bowl
- Medium mixing bowl
- Whisk
- Griddle or large nonstick skillet
- Measuring cups and spoons
- Ladle or measuring cup for pouring batter
- Spatula
- Wire cooling rack (optional, for keeping pancakes warm)
Ingredients for Martha Stewart Pancakes
For the Dry Ingredients
- 2 cups all purpose flour
- 2 tablespoons sugar
- 2 teaspoons baking powder
- 1 teaspoon baking soda
- 1 teaspoon salt
For the Wet Ingredients
- 2 cups buttermilk, at room temperature
- 4 tablespoons unsalted butter, melted and slightly cooled
- 2 large eggs
- 1 teaspoon vanilla extract
For Cooking
- Unsalted butter or neutral oil for greasing the griddle
Ingredient Notes and Substitutions
- Buttermilk: The acidity reacts with baking soda to create lift and tenderness. Substitute by adding 2 tablespoons lemon juice or white vinegar to regular milk and letting it sit for 5 minutes.
- All purpose flour: Provides structure without making pancakes tough. Whole wheat flour works but use half regular and half whole wheat for best texture.
- Butter: Adds richness and promotes browning. Substitute with melted coconut oil for a dairy free option with similar results.
- Eggs: Bind the batter and add moisture. For egg free pancakes, use 2 flax eggs (2 tablespoons ground flax mixed with 6 tablespoons water).
- Sugar: Helps with browning and balances the tangy buttermilk. Reduce to 1 tablespoon if you prefer less sweet pancakes.
How to Make Martha Stewart Pancakes
Step 1: Whisk the Dry Ingredients Together
Add the flour, sugar, baking powder, baking soda, and salt to a large mixing bowl. Whisk everything together until fully combined with no visible clumps of baking powder.
This step distributes the leavening agents evenly so every pancake rises consistently. Skipping this creates some flat pancakes and some puffy ones in the same batch.
Step 2: Combine the Wet Ingredients
In a medium bowl, whisk the buttermilk, melted butter, eggs, and vanilla until smooth. Make sure your melted butter has cooled slightly before adding it.
Hot butter will scramble your eggs and create an unpleasant texture in the final batter. Room temperature buttermilk mixes more smoothly than cold.
Step 3: Create a Well and Add Wet to Dry
Push the dry ingredients toward the edges of the bowl to create a well in the center. Pour the wet ingredients into this well.
This technique gives you more control over mixing and helps prevent overworking the batter. You want to incorporate ingredients gently from here.
Step 4: Mix Until Just Combined
Use a spatula or wooden spoon to fold the wet and dry ingredients together. Stop mixing when you still see some small lumps throughout the batter.
Overmixing develops gluten and creates tough, rubbery pancakes that nobody wants to eat. Those lumps will hydrate and disappear during cooking.
Step 5: Let the Batter Rest
Allow the batter to sit for 5 minutes while you preheat your griddle. This rest period lets the flour fully hydrate and the gluten relax.
Rested batter produces noticeably fluffier pancakes with better structure. Use this time to get your toppings ready and pour some coffee.
Step 6: Preheat and Grease Your Cooking Surface
Heat your griddle or skillet over medium heat for at least 3 minutes. Add a small amount of butter and spread it across the surface.
Test the temperature by sprinkling a few drops of water on the surface. The water should sizzle and evaporate within seconds if the heat is right.
Step 7: Pour and Cook the First Side
Use a quarter cup measure to pour batter onto the griddle, leaving space between each pancake. Cook until bubbles form across the entire surface and the edges look set.
This takes about 2 to 3 minutes depending on your heat level. Resist the urge to press down on the pancakes with your spatula.
Step 8: Flip and Finish Cooking
Slide your spatula under each pancake and flip confidently in one motion. Cook the second side for about 1 to 2 minutes until golden brown.
The second side always cooks faster than the first, so watch carefully. You want deep golden color without any burnt spots.
Step 9: Keep Warm and Repeat
Transfer finished pancakes to a wire rack set on a baking sheet in a 200 degree oven. Continue cooking the remaining batter, adding more butter to the griddle as needed.
Stacking pancakes directly on a plate traps steam and makes them soggy. The wire rack method keeps them crispy until serving.
Pro Tip: The first pancake is almost always a test pancake that helps you dial in the perfect heat level, so do not get discouraged if it turns out less than perfect.
Tips for the Best Martha Stewart Pancakes
- Bring all refrigerated ingredients to room temperature before mixing for better batter consistency.
- Use a griddle thermometer to maintain consistent 375 degree surface temperature throughout cooking.
- Wipe excess burnt butter from the griddle between batches to prevent dark spots on your pancakes.
- Pour batter from the same height each time to get uniformly sized pancakes.
- Only flip once per pancake since multiple flips deflate the air bubbles that create fluffiness.
- Serve immediately when possible since pancakes taste best within minutes of leaving the griddle.
Common Mistakes to Avoid
- Overmixing the batter: This develops too much gluten and creates dense, chewy pancakes instead of fluffy ones.
- Using cold buttermilk: Cold liquid shocks the melted butter and creates small solid pieces throughout the batter.
- Cooking on high heat: The outside burns before the inside cooks through, leaving raw centers.
- Flipping too early: Premature flipping breaks the surface and releases the air pockets that make pancakes light.
- Pressing down with the spatula: This squeezes out air and moisture, resulting in flat, dry pancakes.
Serving Suggestions
These pancakes pair beautifully with both sweet and savory accompaniments. Build your perfect breakfast plate with any of these delicious options.
- Real maple syrup warmed slightly before drizzling
- Fresh berries and a dollop of whipped cream
- Crispy bacon or breakfast sausage links
- Sliced bananas with a sprinkle of cinnamon
- Nut butter and honey for a protein boost
Variations to Try
- Blueberry Pancakes: Fold 1 cup fresh blueberries into the finished batter for bursts of fruity sweetness in every bite.
- Chocolate Chip Pancakes: Add half a cup of mini chocolate chips to the batter for a kid approved breakfast treat.
- Lemon Ricotta Pancakes: Replace half the buttermilk with ricotta cheese and add lemon zest for an elegant brunch option.
- Cinnamon Roll Pancakes: Swirl cinnamon sugar paste into the batter and top with cream cheese glaze.
- Banana Walnut Pancakes: Mash one ripe banana into the wet ingredients and add chopped toasted walnuts.
Dietary Adaptations
- Gluten Free: Use a 1:1 gluten free flour blend in place of all purpose flour with nearly identical results.
- Dairy Free: Substitute oat milk with 2 tablespoons lemon juice for buttermilk and use melted coconut oil instead of butter.
- Vegan: Combine the dairy free swaps with flax eggs for completely plant based pancakes that still taste great.
- Low Carb: Replace flour with almond flour and add an extra egg, though texture will be denser than traditional pancakes.
Storage and Reheating
Refrigerator
Cooled pancakes keep well in the refrigerator for up to 5 days.
- Stack pancakes with parchment paper between each one
- Store in an airtight container or resealable plastic bag
- Remove as many as you need for quick weekday breakfasts
Freezer
Frozen pancakes stay fresh for up to 3 months and make mornings so much easier.
- Flash freeze on a baking sheet before transferring to a freezer bag
- Remove excess air from the bag to prevent freezer burn
- Label with the date so you remember when you made them
Reheating
Several methods work well depending on how much time you have.
- Toaster or toaster oven at medium setting until warmed through and slightly crispy
- Microwave for 30 seconds per pancake when speed matters most
- Oven at 350 degrees for 10 minutes to reheat a larger batch
Nutrition Information
| Nutrient | Amount |
|---|---|
| Calories | 320 |
| Total Fat | 14g |
| Saturated Fat | 8g |
| Carbohydrates | 42g |
| Fiber | 1g |
| Sugar | 9g |
| Protein | 9g |
| Sodium | 680mg |
| Cholesterol | 95mg |
Nutritional values are estimates based on standard ingredients and may vary based on specific products used and serving size adjustments.
Frequently Asked Questions
Can I make the batter the night before?
I do not recommend it since the leavening agents start working immediately and lose effectiveness overnight. Mix dry and wet ingredients separately and combine them fresh in the morning for best results.
Why are my pancakes flat and dense?
The most common culprits are overmixing the batter or using expired baking powder. Check the date on your leavening agents and remember that lumpy batter makes fluffy pancakes.
Can I use regular milk instead of buttermilk?
Yes, but you need to create a buttermilk substitute by adding acid. Mix 2 tablespoons of lemon juice or white vinegar into 2 cups of regular milk and let it sit for 5 minutes.
How do I know when to flip the pancakes?
Look for bubbles forming across the entire surface and edges that appear set and slightly dry. The underside should be golden brown when you peek with your spatula.
Can I add mix ins like chocolate chips directly to the batter?
You can fold mix ins into the finished batter, but dropping them onto pancakes after pouring gives you more control. This method also prevents the mix ins from sinking and burning on the griddle.
Final Thoughts
This Martha Stewart pancake recipe proves that classic techniques and quality ingredients beat any boxed mix. Once you experience the difference homemade pancakes make, Saturday mornings will never look the same.
Grab your whisk and give these buttermilk beauties a try this weekend. Your family will thank you, and you might just discover a new breakfast tradition worth keeping.
Martha Stewart Buttermilk Pancakes
Ingredients
Equipment
Method
- Add the flour, sugar, baking powder, baking soda, and salt to a large mixing bowl. Whisk everything together until fully combined with no visible clumps of baking powder.
- In a medium bowl, whisk the buttermilk, melted butter, eggs, and vanilla until smooth. Make sure your melted butter has cooled slightly before adding it to avoid scrambling the eggs.
- Push the dry ingredients toward the edges of the bowl to create a well in the center. Pour the wet ingredients into this well.
- Use a spatula or wooden spoon to fold the wet and dry ingredients together. Stop mixing when you still see some small lumps throughout the batter. Do not overmix.
- Allow the batter to rest for 5 minutes while you preheat your griddle. This lets the flour fully hydrate and the gluten relax.
- Heat your griddle or skillet over medium heat for at least 3 minutes. Add a small amount of butter and spread it across the surface. Test the temperature by sprinkling a few drops of water on the surface - it should sizzle and evaporate within seconds.
- Use a quarter cup measure to pour batter onto the griddle, leaving space between each pancake. Cook until bubbles form across the entire surface and the edges look set, about 2 to 3 minutes.
- Slide your spatula under each pancake and flip confidently in one motion. Cook the second side for about 1 to 2 minutes until golden brown.
- Transfer finished pancakes to a wire rack set on a baking sheet in a 200 degree F oven to keep warm. Continue cooking the remaining batter, adding more butter to the griddle as needed.